
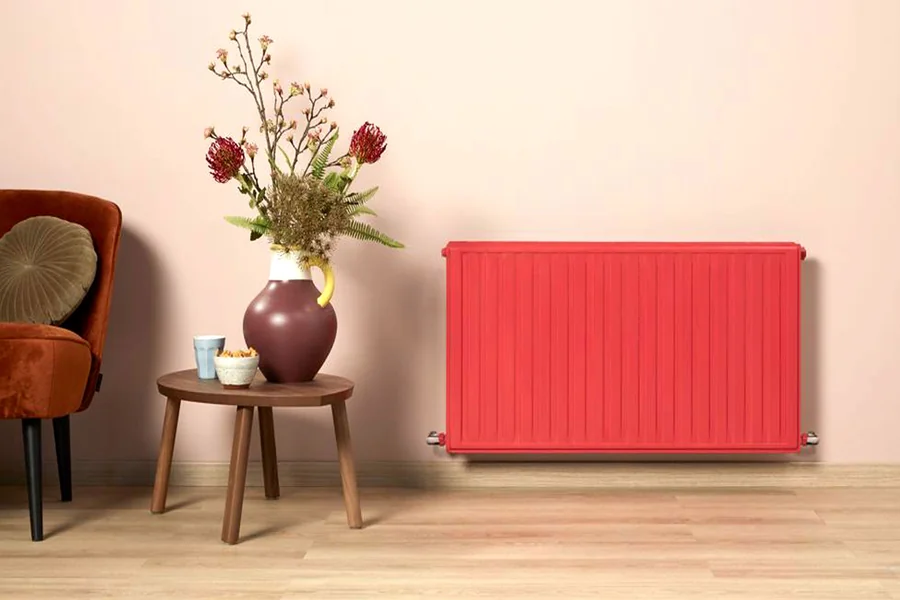

Struggling to give your traditional column radiators a fresh, designer look? These timeless heaters add charm to a room but can lose their appeal over time. This guide will show you how to clean, prepare, and paint them for a stunning finish.
Get ready to transform your radiators effortlessly!
Preparing the Radiator for Painting
Getting your radiator ready is like prepping a canvas—clean, smooth, and cool. A little effort at this stage makes painting quicker and the finish sharper.
How do I safely turn off and cool the radiator?
Turn off the radiator from its valve. Twist it clockwise to stop hot water flow. Do the same for the lockshield valve on the opposite side. Allow enough time for cooling, as metal can stay hot longer than expected.
“Safety comes first,” as experts say, so check that all parts are cool before touching or cleaning. Larger radiators might take hours to lose heat fully. Cool surfaces help paint stick properly and prevent blisters or uneven layers during application.
What is the best way to clean a radiator before painting?
Dust, grease, and dirt can ruin a paint job. Start by wiping the radiator with a dry microfibre cloth or soft brush to remove loose dust. For tighter column spaces, use an old toothbrush or narrow radiator cleaner.
Scrub all surfaces gently but thoroughly, especially near joints or corners where buildup hides. Rinse with clean water and let it air dry completely. Check for rust spots during cleaning; these may need extra attention later.
A spotless surface helps primer stick better and prevents peeling after painting.
Moving forward, sanding is crucial for achieving a smooth finish that complements home decor styles like blinds and interior themes.
How do I sand a radiator for a smooth surface?
After cleaning, sanding comes next. Use fine-grit sandpaper, like 120 to 240 grit, for the best results. This smooths the surface and helps primer stick better. Focus on areas with old paint or rust; these must go completely.
Work around each column carefully to avoid uneven spots. A sanding sponge can help reach tricky gaps in traditional column radiators. Wipe away all dust using a damp cloth before moving forward, leaving no residue behind.
Choosing the Right Paint and Tools
Picking the right paint is key for a lasting and beautiful radiator finish. Use tools that give precision and make painting simpler.
What paint should I use for a traditional column radiator?
Use high-quality radiator paint made for extreme heat. It should resist peeling and flaking over time. Paints like these work well with UK heating systems, making them perfect for traditional column radiators.
Choose from finishes such as matt, gloss or metallic to match your interior design. Colours like anthracite, white or antique brass can create a striking look. Specialist paints are sold online by places like Radiator Outlet and BestHeating, offering options for durability and style.
Which brushes or spray equipment work best for radiator painting?
Small, high-quality brushes make radiator painting easier. A 1-inch or angled brush works well for tight spaces between columns. Fine-tipped brushes handle details and hard-to-reach spots.
They also reduce streaks, making the finish smoother.
Spray equipment offers faster coverage but can miss narrow areas in traditional column radiators. It may work better on flat designs than intricate ones. Rollers with short-pile sleeves are an option but might leave lint behind or struggle to coat corners fully.
Brushes give precise control and suit most radiator styles better than other tools.
Step-by-Step Painting Process
Getting a polished finish takes patience and the right techniques. Small steps can make a big difference, so don’t rush it.
How do I apply a primer coat correctly?
Apply a thin, even primer layer across the entire radiator. Use a paintbrush to reach tight gaps between columns. Make sure every inch is covered, as bare spots can lead to rust later.
Choose a heat-resistant metal primer that pairs well with radiator paint.
Allow the primer to dry fully before painting over it. Check the product’s label for exact drying times; many take 4-6 hours or more. Uneven coats or missed areas may show through in the final finish, so work carefully and patiently.
What is the best technique to paint a radiator evenly?
After priming, start painting from the top of the radiator. Use a small brush to reach tight spaces between columns. A larger brush works well for flat sections. Keep strokes even and follow the direction of the radiator’s columns.
Use thin coats instead of thick ones to prevent drips. Maintain a wet edge while painting to avoid lap marks or streaks. Work section by section, covering all surfaces, including the back and inner gaps.
Repeat with multiple light coats for full coverage and a designer finish on traditional column radiators like those offered by Planet Radiators!
How long should I allow drying time between coats?
Each coat should dry completely before the next one. This prevents a tacky finish and ensures smooth results. Drying times depend on the type of paint used and room conditions, such as temperature or humidity.
Oil-based paints may take 16-24 hours to dry, while water-based ones might need only 6-8 hours. Follow the manufacturer’s instructions for best results. Thin coats with proper drying create a durable and even finish.
Rushing this process can lead to smudges or poor adhesion, so patience is key!
Finishing Touches
Check for any missed spots, touch them up neatly, and use a strong clear coat to keep the radiator looking fresh.
How can I check for missed spots after painting?
Inspect the radiator in bright, natural light. Look closely at all sides of each column. Focus on hidden areas like between columns or the back edges. Use a small torch to illuminate hard-to-see spots.
A mirror can help check awkward angles.
Allow the paint to fully dry first. Missed spots stand out more under gloss or metallic finishes, making them easier to spot. Touch up gaps quickly with a fine brush for a smooth, clean look.
If possible, rotate the radiator to view it from every angle for accuracy.
What protective topcoat should I apply for durability?
After checking for missed spots, applying a clear, heat-resistant protective topcoat is essential. This layer adds durability and protects the painted radiator from scratches, chips, and heat damage.
It also helps maintain the radiator’s designer finish over time.
Choose a topcoat that works with your radiator paint. Some options increase sheen for a glossy look, while others provide a matt finish. High-traffic areas benefit greatly from this step as it prevents wear and tear.
Look for anti-corrosive properties in the topcoat to boost longevity further. Always follow the manufacturer’s application and drying instructions closely to achieve lasting results.
Conclusion
Painting a traditional column radiator doesn’t have to be difficult. With thorough preparation, suitable tools, and patience, anyone can achieve a polished look. A fresh coat of paint enhances style and protects the radiator for the years to come.
Follow these steps carefully and enjoy your newly refreshed finish!
