
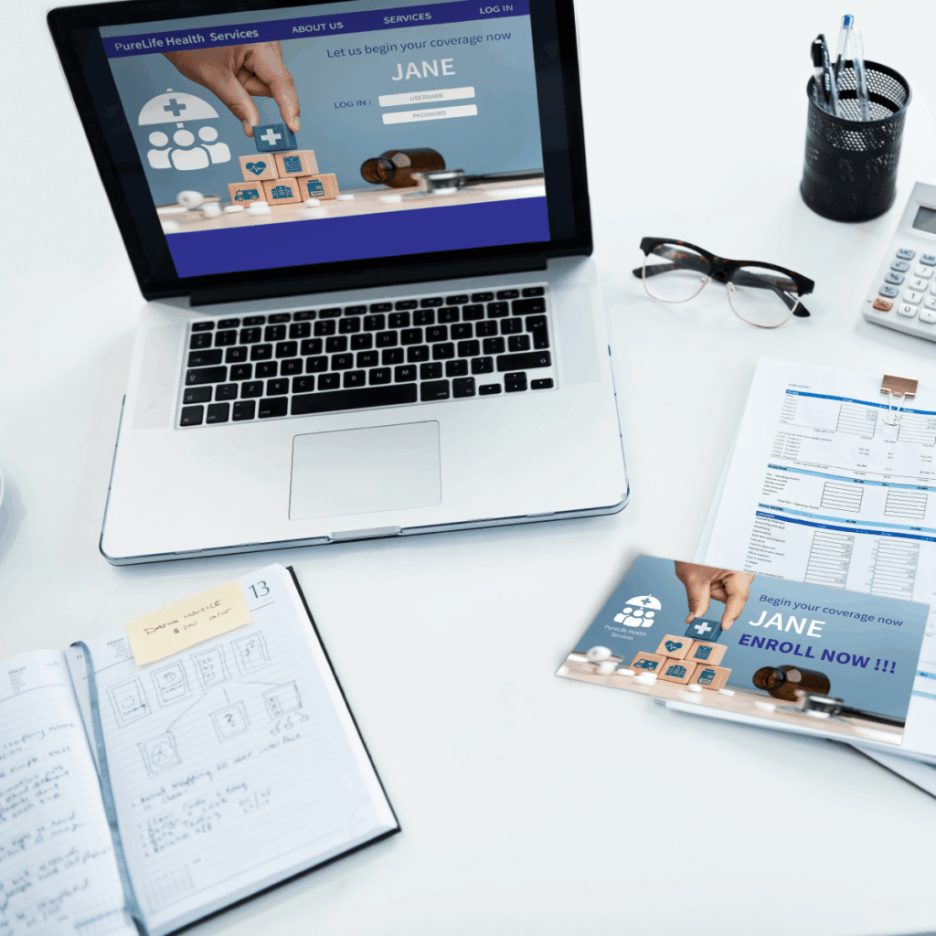

A variable data printing (VDP) campaign lets you create printed pieces with different names, offers, images, and messages for each customer. You need customer information that suits your campaign objectives and print design to make every piece precise.
The absence of information, duplicated records, or erroneous information may result in print errors, material wastage, and delays in production. A simple error in your data file can influence the end product.
Proper data preparation will assist you in identifying mistakes at an early stage, maintaining customer information in order, and ensuring that every customized aspect is in the appropriate location. You can minimize errors with just a handful of checks prior to the entire print run.
Ready to get your data in shape? Now, let’s examine seven practical tips to assist you in putting your records in order and establishing your VDP campaign to succeed.
1. Define Campaign Goals and Data Needs
Before you prepare your customer list, decide what you want your campaign to achieve. It can be advertising merchandise, encouraging a follow-up purchase, offering a special deal, or establishing better customer relationships. Your goal will guide the type of data you need and the content you plan to personalize.
Withvariable data printing, you can change text, images, offers, and QR codes for each recipient within one print run. Start by listing the details needed for each change. As an example, a customer category or offer code in the data file might be required in a campaign where various offers are provided to various groups of customers.
Set a list of the necessary fields prior to constructing your print template.
2. Clean Customer Data and Remove Duplicates
The customer information may get disorganized as you gather information from forms, sales records, and other sources. Such problems include spelling errors, blank fields, duplicated records, and old contact information. These problems can lead to mistakes in your finished print pieces.
Begin by deleting duplicate records where necessary and verifying names, email addresses, phone numbers, and other campaign information. Store dates, names, and customer codes in a similar format.
Flag for review any missing or unclear information. Secure personal information by restricting file access to individuals who require the information in production. The NIST Privacy Framework update outlines ways to manage risks related to personal data. These checks help prepare an accurate, well-organized file for your VDP campaign.
3. Organize Data Fields for Personalization
The clean list must also have a clean structure. A column must contain one kind of information to allow the print system to align customer details to the appropriate section of the design. It is easier to check and utilize a file with individual fields than a file with multiple details in a single column.
As an example, maintain first name, last name, street address, city, state, and ZIP code in separate fields. Add columns for customer groups, offer codes, product types, or image names when you require them in your campaign.
Use clear column headings and maintain uniformity of all records. If the template uses a field called “Offer_Code,” make sure the data file uses the same name. The easiest way to keep track of which column controls each personalized item is to have a simple field map that reminds you of missing fields during production.
4. Verify Customer Details and Addresses
Accurate contact details help your printed materials reach the right people. Even a small error in a street name or ZIP code can cause delivery problems. Address checks are especially important for direct mail campaigns that rely on a customer list.
Review each address for missing details, spelling mistakes, and inconsistent formats. The USPS address-checking guidance explains why you should check mailing lists for accuracy and keep address information up to date. Use a suitable address validation tool to flag possible errors and identify records that need closer review.
Check other fields that affect personalization, too. Make sure customer groups, offer codes, and image references match the right records. Resolve outdated addresses and unclear customer categories before approving the file.
5. Set Personalization Rules and Fallback Values
Personalization rules tell the print system which content belongs on each piece. One customer may receive a product offer, while another may see a different message or image. Clear rules help you keep each version accurate and relevant.
First, link every variable field to the correct part of the design. Then set rules for customer groups, offers, images, and QR codes where needed. Check that each rule uses the right field and that the values match your campaign plan.
You should also decide what happens when data is missing. For example, if a first name is blank, a general greeting may work better than an empty space. Test long names, unusual values, and missing fields to make sure the text fits the layout and still makes sense.
6. Test Data Across Different Customer Records
Before you approve the full data file, test a small group of records that covers different campaign situations. Checking only one typical record may not reveal problems with long names, missing values, or special offers. A varied test sample gives you a better view of how the rules work.
Choose records from each customer group and include both common and unusual cases. Check whether the correct message, image, offer, and QR code appear for each person. If your campaign uses unique QR codes, scan them to confirm they lead to the intended page.
Review any errors, correct the data or rules, and run the test again. Keep a record of your checks so your team can confirm that the file is ready for the next stage.
7. Review Print Proofs and Approve Final Output
Once your data and personalization rules pass the checks, review sample prints before the full run begins. A print proof shows how the data and design work together. It can reveal text that runs out of space, missing images, blank fields, or offers that appear on the wrong version.
Review several proofs from different customer groups, not just one sample. Check long names, address blocks, images, QR codes, and any text that changes between records. Make sure the layout stays clear and each piece displays the correct details.
After fixing any errors, review the updated proofs and approve the final version for printing. A careful final check helps you catch layout and personalization issues before they affect the full print run.
Bottom Line
A successful VDP campaign starts with clean, well-organized data. Set clear goals, remove errors, separate key fields, verify addresses, and create rules that match each customer to the right content. Then test different records and review print proofs before approving production.
Each step helps you catch problems early and gives your print team a clear file to work with. Check every detail before the campaign begins so each printed piece has the right information and is ready to reach its intended recipient.
